
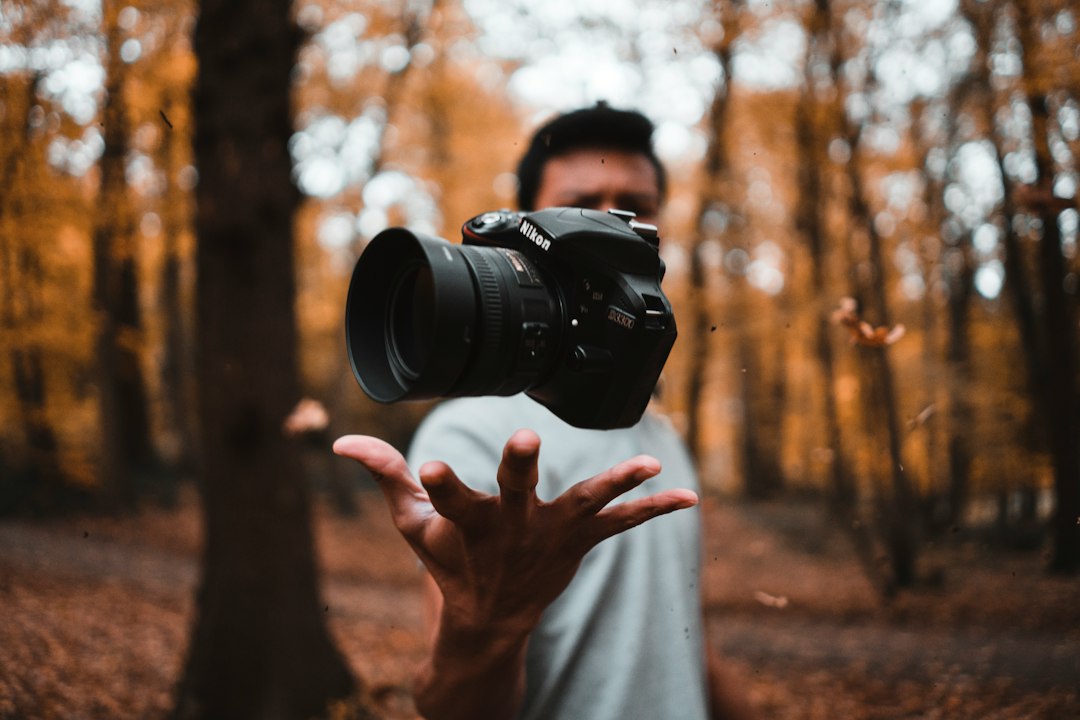
A DSLR is a digital camera that uses a mirror and an optical viewfinder to show you the scene through the lens before you take the photo. DSLR stands for digital single lens reflex, meaning one lens is used for viewing and capturing the image, while a reflex mirror directs light to your eye until the shutter fires [source: Nikon]. For beginners, a DSLR is still a serious learning tool because it teaches exposure, focus, lenses, and composition in a very direct way.
TLDR: A DSLR is best for beginners who want hands-on control and clear feedback while learning photography. For example, a student using an entry-level DSLR with an 18–55mm kit lens can shoot portraits, street photos, pets, and travel images without buying more gear on day one. Expect the first 200 photos to be rough; that is normal. After two weeks of regular practice, most beginners can understand aperture, shutter speed, and ISO well enough to leave full auto mode.
What Is a DSLR?
A DSLR is built around a simple idea. Light enters through the lens. A mirror reflects that light upward into an optical viewfinder. When you press the shutter button, the mirror flips up, the shutter opens, and the camera sensor records the image.
This system makes a DSLR feel different from a phone or many mirrorless cameras. You are not watching a screen version of the scene. You are looking through the actual lens, using glass and mirrors. That gives a clean, real-time view with no screen lag.
DSLR cameras usually offer:
- Interchangeable lenses for portraits, sports, wildlife, landscapes, and macro work.
- Manual exposure controls for aperture, shutter speed, and ISO.
- Larger image sensors than most phones and compact cameras.
- Strong battery life, often better than screen-heavy cameras.
- Optical viewfinders that work well in bright sunlight.
Why Beginners Still Buy DSLR Cameras
Mirrorless cameras are popular, and many are excellent. Still, a DSLR can be a smart first camera. Used DSLR bodies are often affordable. Lenses are widely available. Battery life is strong. The controls are physical and clear.
The catch is that old camera menus can feel clumsy. Some models bury basic settings three screens deep, which is annoying when you only want to change focus mode. Still, once the main buttons make sense, a DSLR becomes fast and reliable.
A DSLR also slows you down in a useful way. That sounds odd, but it helps. Phone photography encourages quick tapping. DSLR photography asks you to think. You choose where to focus. You decide how much blur you want. You notice light direction. That process builds skill.
Best DSLR Features for Beginners
Not every DSLR is beginner-friendly. Some are too large. Some have dated autofocus. Some lack simple guide modes. If you are buying your first one, focus on useful features rather than marketing claims.
- APS-C sensor: This sensor size is common in beginner DSLRs. It gives good image quality without making the camera too expensive.
- 18–55mm kit lens: This lens is basic, but useful. It covers wide photos, casual portraits, and everyday scenes.
- Manual mode: You need it for real learning. Avoid relying only on auto mode.
- Aperture priority mode: Often marked as A or Av. This is one of the best modes for beginners.
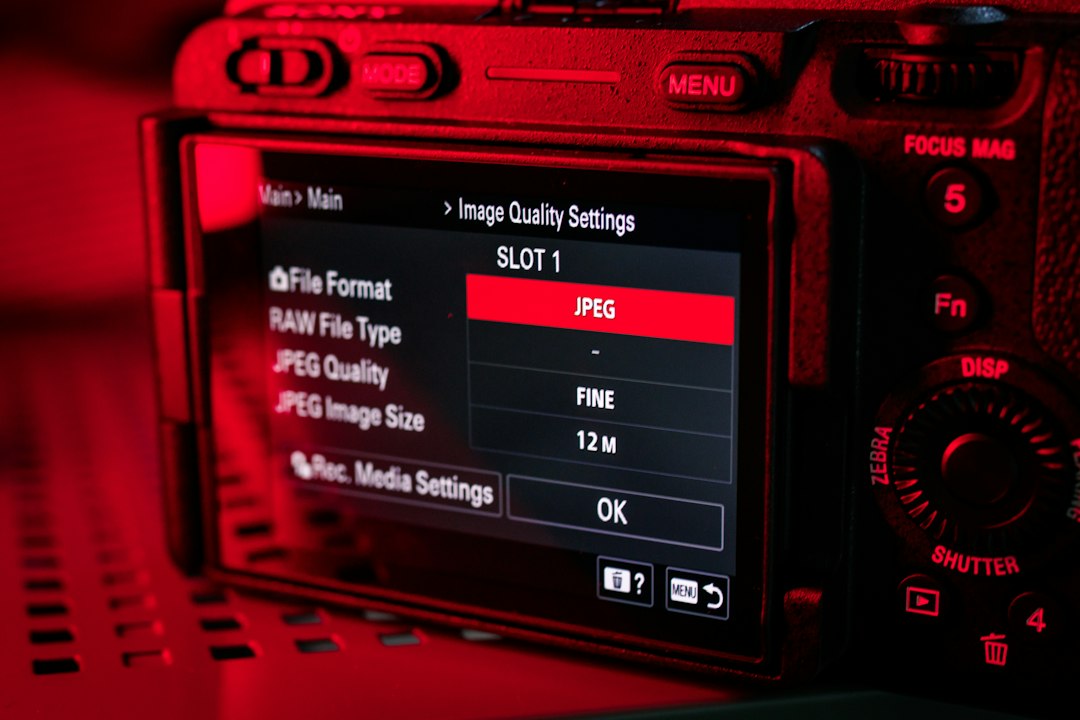
- RAW shooting: RAW files give more room for editing exposure and color later.
- Decent autofocus: Look for a camera that focuses quickly enough on people, pets, and moving subjects.
The Three Settings Every Beginner Must Learn
Photography is built on exposure. Exposure controls how bright or dark a photo looks. The three main controls are aperture, shutter speed, and ISO. Together, they form the exposure triangle.
1. Aperture
Aperture controls the opening inside the lens. It is written as f-numbers, such as f/1.8, f/4, or f/8. A lower number creates more background blur and lets in more light. A higher number keeps more of the scene sharp.
Use f/1.8 to f/2.8 for portraits with soft backgrounds. Use f/8 to f/11 for group shots, buildings, and travel scenes where more detail should stay sharp.
2. Shutter Speed
Shutter speed controls how long the sensor is exposed to light. Fast speeds freeze action. Slow speeds show motion or cause blur.
- 1/1000 second: sports, birds, fast pets.
- 1/250 second: walking people, street photos.
- 1/60 second: still subjects, careful handheld shooting.
- 1 second or slower: tripods, night scenes, light trails.
3. ISO
ISO controls how sensitive the camera is to light. Low ISO gives cleaner photos. High ISO helps in dark places but adds grain, also called noise.
Start with ISO 100 or 200 outdoors. Try ISO 800 to 3200 indoors. Do not panic about grain. A sharp grainy photo is better than a blurry clean one.
Best Beginner Photography Guides for DSLR Users
It drives me crazy when beginner guides start with lens shopping. Gear is not the first problem. Seeing light is the first problem. Use these guides in order.
Guide 1: Learn to Hold the Camera Properly
Hold the grip with your right hand. Support the lens with your left hand. Keep elbows close to your body. Press the shutter gently, not with a jab. This alone can make photos sharper.
Guide 2: Use Aperture Priority First
Aperture priority lets you choose depth of field while the camera chooses shutter speed. It is a good training mode. Set f/2.8 or f/4 for portraits. Set f/8 for general outdoor photos. Watch how the background changes.
Guide 3: Practice Focus Points
Do not let the camera pick everything. Select one focus point and place it over the subject. For portraits, focus on the eye closest to the camera. This small habit makes a huge difference.
Guide 4: Shoot in Good Light
Good light fixes many beginner problems. Shoot during early morning or late afternoon when light is softer. Avoid harsh noon sun for portraits unless you know how to use shade. Window light is excellent for indoor practice.
Guide 5: Review Photos With Purpose
Do not just ask, “Do I like it?” Ask better questions:
- Is the subject sharp?
- Is the background distracting?
- Is the photo too bright or too dark?
- Where does the eye go first?
- Could I move two steps left or right for a cleaner frame?
DSLR vs Phone Camera
A modern phone is convenient and often excellent. It handles quick snapshots, video clips, and social media with ease. A DSLR is different. It gives more control, better lens choices, stronger ergonomics, and cleaner files in many shooting conditions.
The DSLR also teaches cause and effect. Change the aperture, and the background changes. Change shutter speed, and motion changes. Change the lens, and the whole photo feels different. Phones hide much of this with software. That is helpful, but it can slow real learning.
Recommended DSLR Starter Setup
A beginner does not need a bag full of equipment. Start lean. Learn faster.
- Entry-level DSLR body from Canon, Nikon, or Pentax.
- 18–55mm kit lens for general use.
- 50mm f/1.8 lens for portraits and low light.
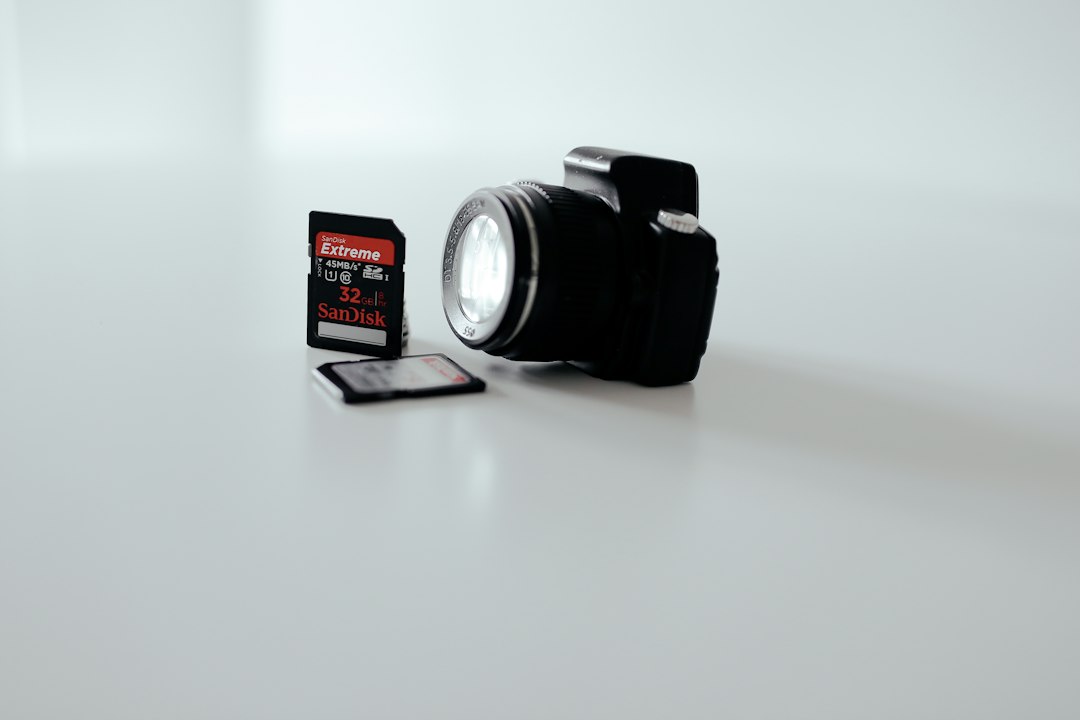
- Two memory cards from a reliable brand.
- One spare battery for long days.
- Basic camera strap or wrist strap.
A tripod is useful, but not urgent unless you shoot night scenes, products, or self-portraits. A flash can wait. Filters can wait too. Spend time first, not money.
Common Beginner Mistakes
The biggest mistake is staying in full auto mode for months. Auto mode is fine for the first day. After that, move to aperture priority or shutter priority. You bought a capable camera. Let it teach you.
Another mistake is blaming the camera too soon. Soft photos often come from slow shutter speed, missed focus, or shaky hands. Dark photos may come from exposure settings. Strange colors often come from white balance.
Also, do not delete every “bad” photo right away. Keep some failures and study them. A blurry dog photo may show you that 1/60 second was too slow. A washed-out sky may teach exposure compensation. Mistakes are data.
Is a DSLR Worth It for Beginners?
Yes, a DSLR is worth it if you want to learn photography seriously. It is not the smallest option. It is not always the newest option. But it is clear, sturdy, affordable on the used market, and excellent for learning the craft.
If you want the lightest camera for daily video, consider mirrorless. If you want a low-cost tool that teaches real photography, a DSLR is still a strong choice. Start with one camera, one basic lens, and one simple goal: make sharper, better-composed photos every week.